
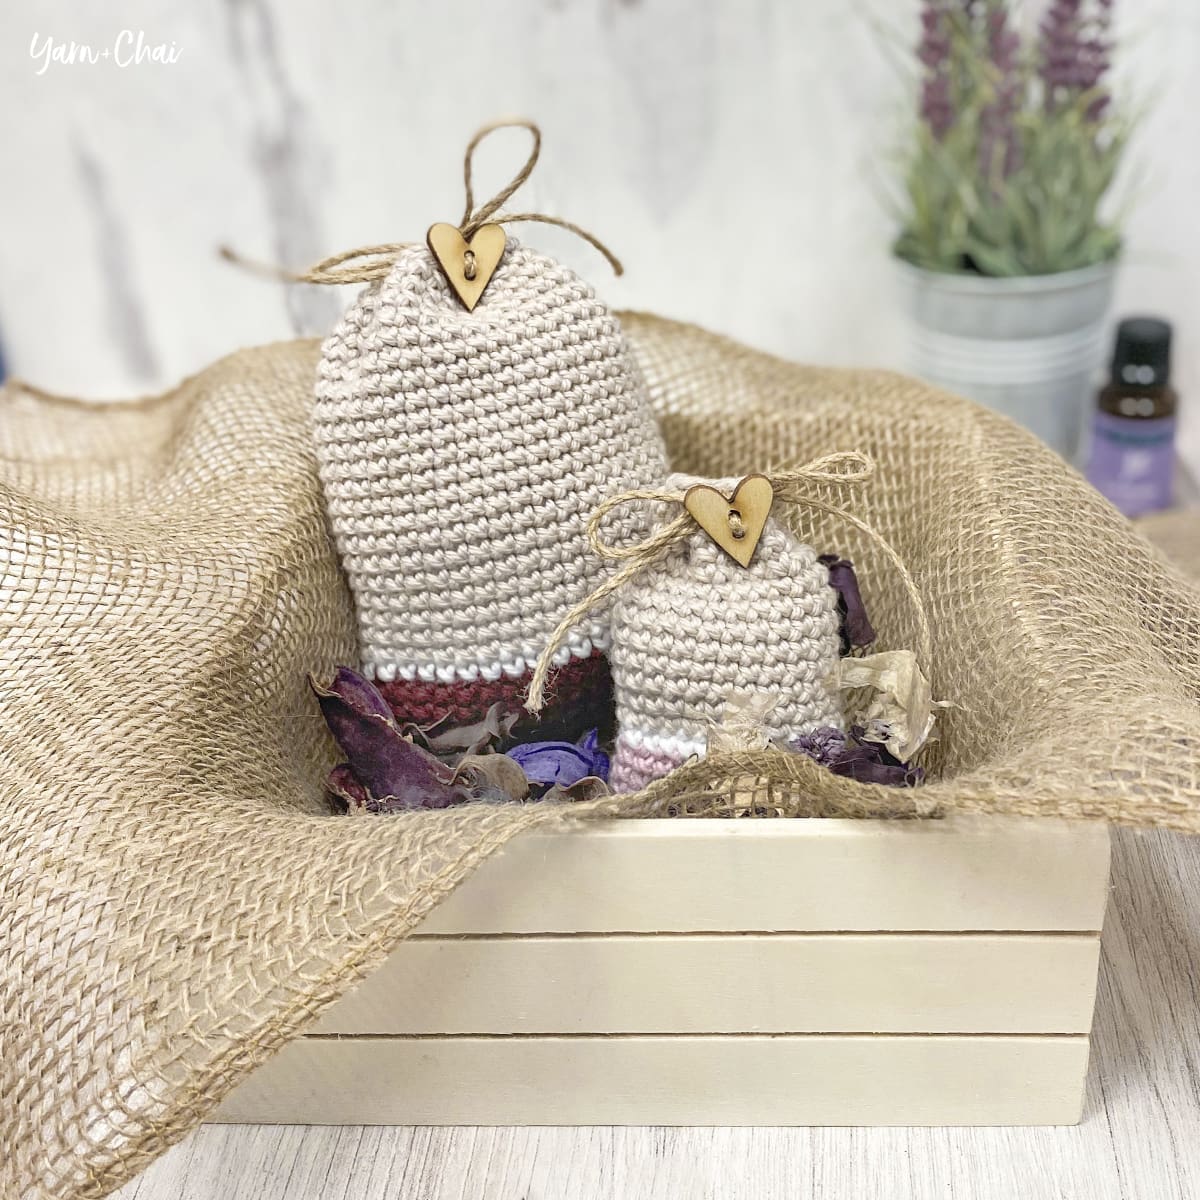
Potpourri pouches or sachets are a simple, natural way to freshen up small spaces, such as drawers of sweaters, linens, or socks. Filled with dried potpourri mixed with a few drops of fragrant oil, these hand-crocheted pouches release fragrance slowly over time to keep things smelling nice. They work up quickly and would make a cute, thoughtful gift for teachers, co-workers, family or friends. I’ve included a mini size as well which would make an adorable wedding favor for a country- or rustic-themed reception!
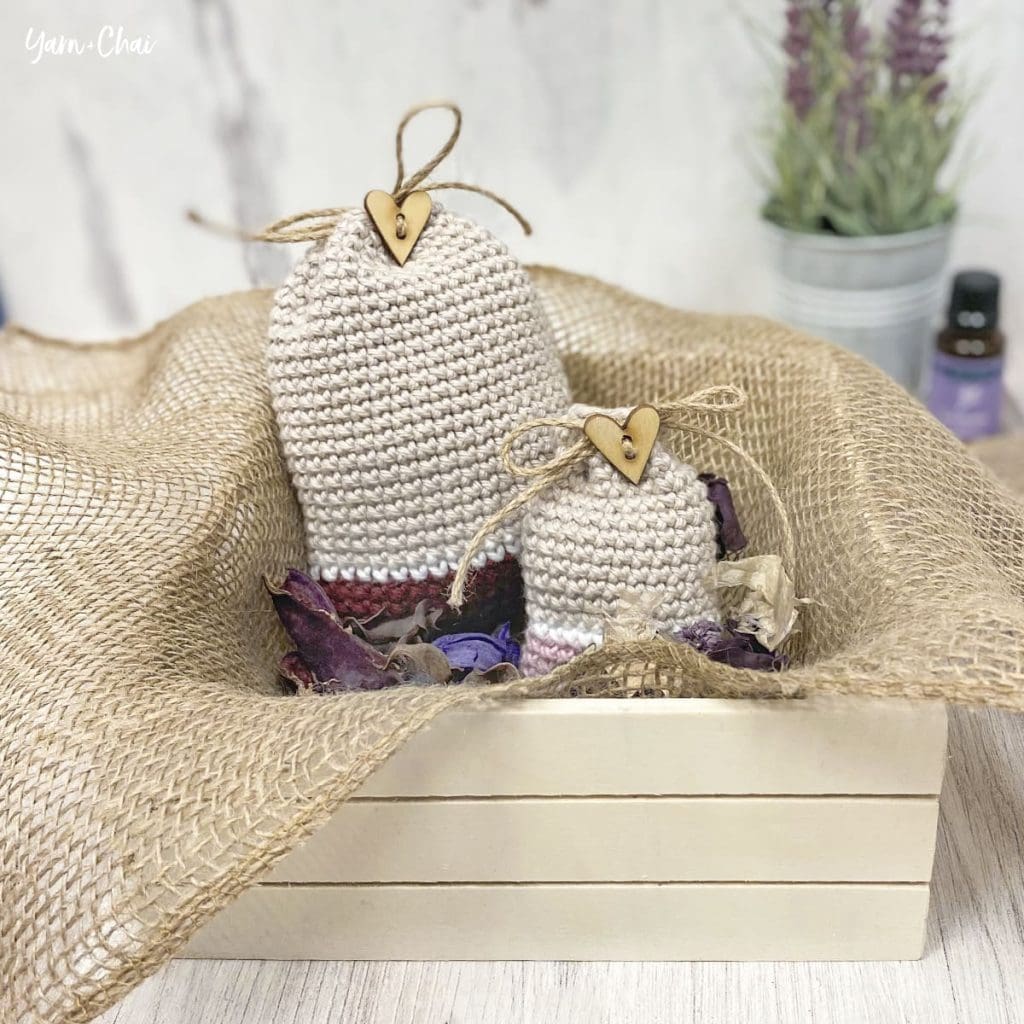
I wasn’t sure whether a tightly stitched pouch would release enough fragrance, so I tested mine out by putting it in one of the sections of the cube shelf that holds my yarn. The next day I checked, and sure enough, the nearby yarn had a pleasant, subtle aroma. Perfect!
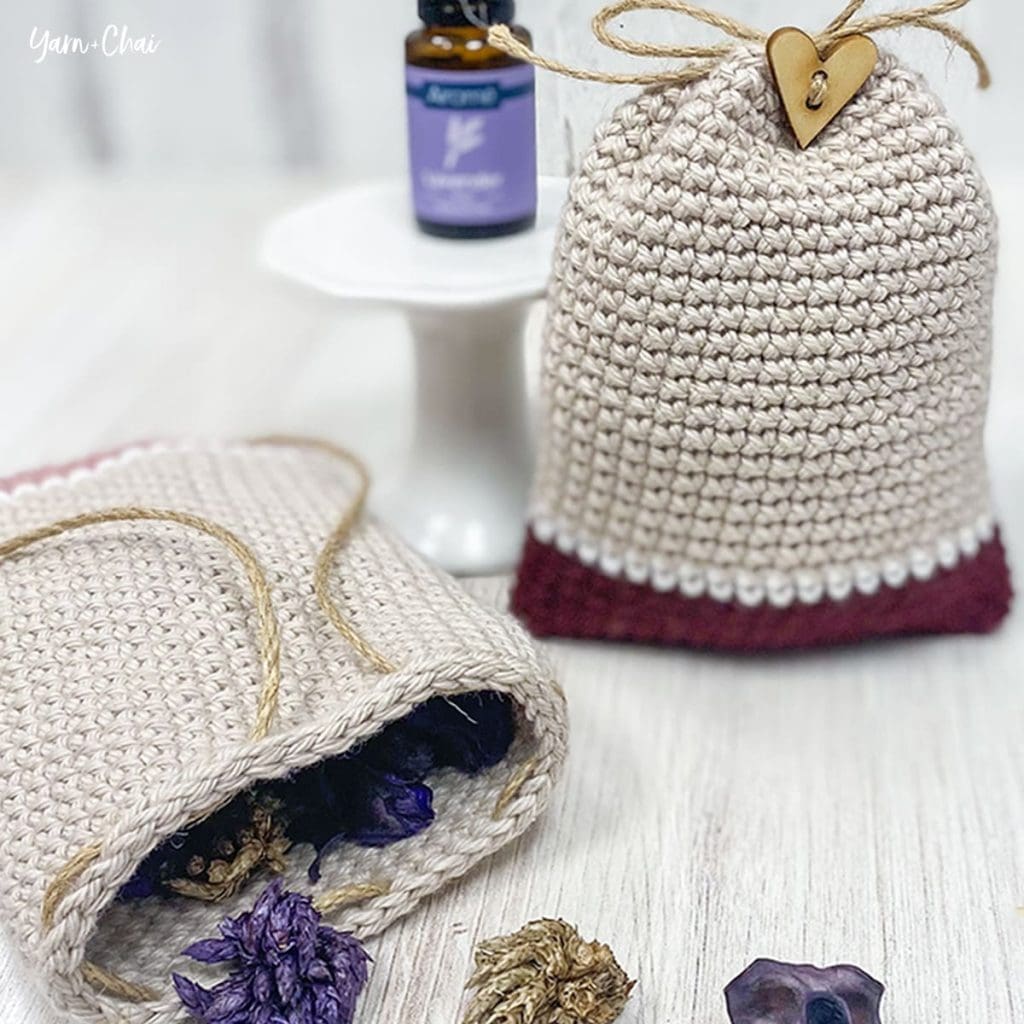
And did you know that you can make scented pouches without the potpourri? A less expensive alternative is dried rice mixed with essential oil… which would be perfect for the mini sized pouch, as even small potpourri may be hard to stuff much inside.
Prefer a PDF?
This pattern can be completed using the 100% free version right here on this page. However, many people prefer the convenience of a printable, ad-free PDF.
All-Access Passholders get the ad-free version of this and all of my other blog patterns. It’s a pretty sweet deal, if I do say so myself! Learn more about it here or continuing scrolling for the free version.
– – – – – – – – – – – – – –
Potpourri Pouch
View on Ravelry
Difficulty: Easy
Crochet Language: American Standard
Finished Sizes: 4″ wide x 5.5″ tall (regular) and 2″ wide x 3.25″ tall (mini)
Yarn: You’ll need a #4 weight cotton yarn in 3 colors. For COLOR A and COLOR B, I used Hobby Lobby’s I Love This Cotton, and for COLOR C, I used Yarn Bee Pima Suprema (also an HL brand). Both yarns are 100% cotton.
For the regular size:
- COLOR A: 15 yards (I used I Love This Cotton in “Burnt Sienna”)
- COLOR B: 3 yards (I used I Love This Cotton in “White”)
- COLOR C: 55 yards (I used Yarn Bee Pima Suprema in “Bone”)
For the mini size:
- COLOR A: 8 yards (I used I Love This Cotton in “Rosy”)
- COLOR B: 2 yards (I used I Love This Cotton in “White”)
- COLOR C: 20 yards (I used Yarn Bee Pima Suprema in “Bone”)
Hook: 4.5mm
Gauge: 20CSC x 22 rows = 4″ square
You’ll also need: Jute twine, button, filler (either potpourri or uncooked rice), fragrant or essential oil
Terms and Abbreviations:
ST/STS (stitch/stitches)
SL ST (slip stitch)
CH (chain)
CSC (crossed single crochet: Insert hook into stitch. Yarn UNDER, pull through; 2 loops on hook. Yarn over, pull through both loops.)
Notes:
(1) Pattern is worked in a seamless spiral. Do not join, chain or turn unless instructed.
(2) Pattern is written for the regular pouch size, with instructions for the mini version in parentheses. When there is only one instruction, it applies to both sizes.
– – – – – – – – – – – – – – –
INSTRUCTIONS
To begin: With COLOR A, CH21 (CH11).
Round 1: CSC in 2nd CH from hook and in each remaining CH. Working around to the opposite side of the starting chain, CSC in each CH across. (You have now worked in both sides of each chain.)
Stitch count: 40 (20)
Rounds 2-6 (Rounds 2-4): CSC in each ST around.
Stitch count: 40 (20)
Switch to COLOR B.
Round 7 (Round 5): CSC in each ST around.
Stitch count: 40 (20)
Switch to COLOR C.
Rounds 8-29 (Rounds 6-17): CSC in each ST around.
Stitch count: 40 (20)
Round 30 (Round 18): SL ST in each ST around.
Stitch count: 40 (20)
Fasten off and weave in all ends.
Finishing it up
- Fill a small bowl with potpourri or uncooked rice and add a few drops of essential oil; mix. Add to pouch.
- Using a yarn needle, locate the top center of the sachet and count 2 STS to the right; run twine through from the outside going in. Weave in and out every 4 STS all around the top of the bag; twine should finish on the outside, 4 STS away from where it first went in.
- Tie the two strands together, cinching the bag closed.
- Thread one strand through the button and finish it with a bow.
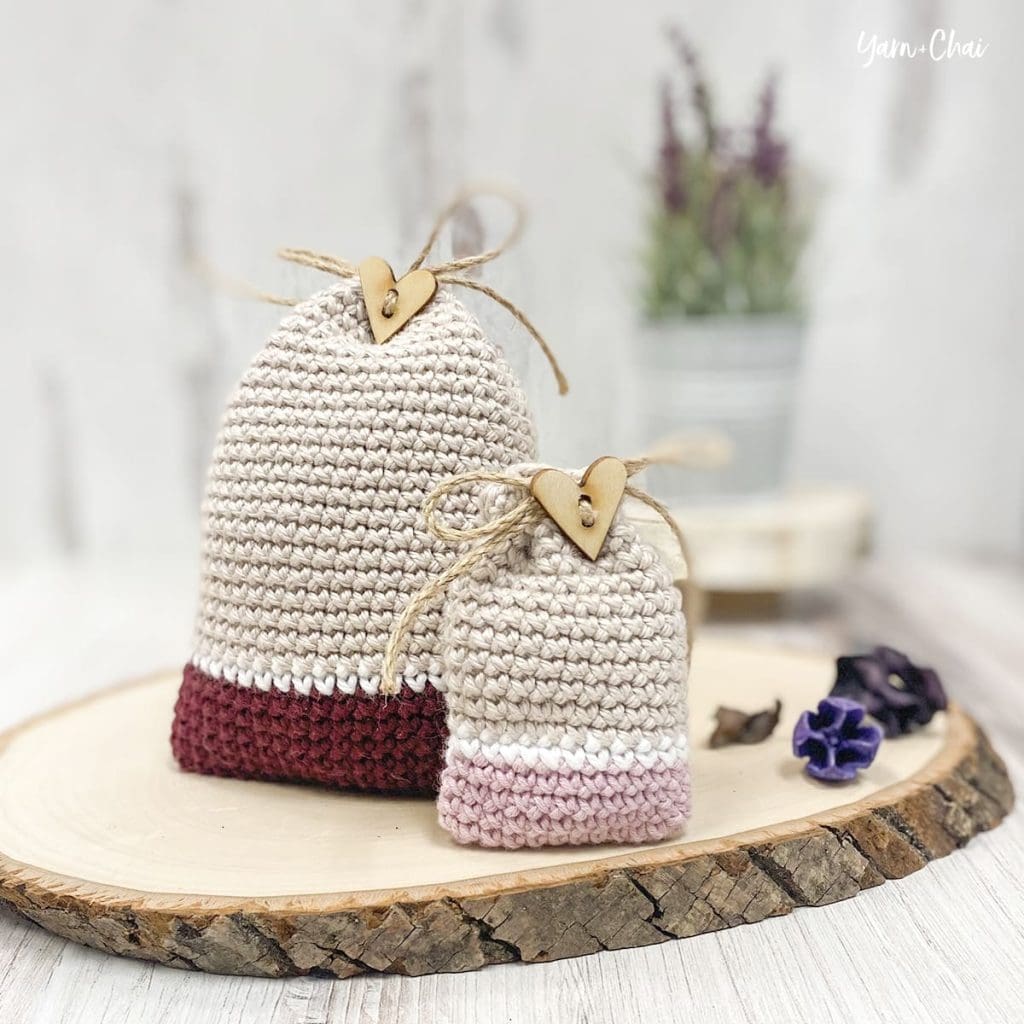
That’s it!
I hope you enjoyed this tutorial. If you’re sharing your project on social media, be sure to tag me @yarnandchai.design!
